magic, with the maths done
How we build a house in a hill
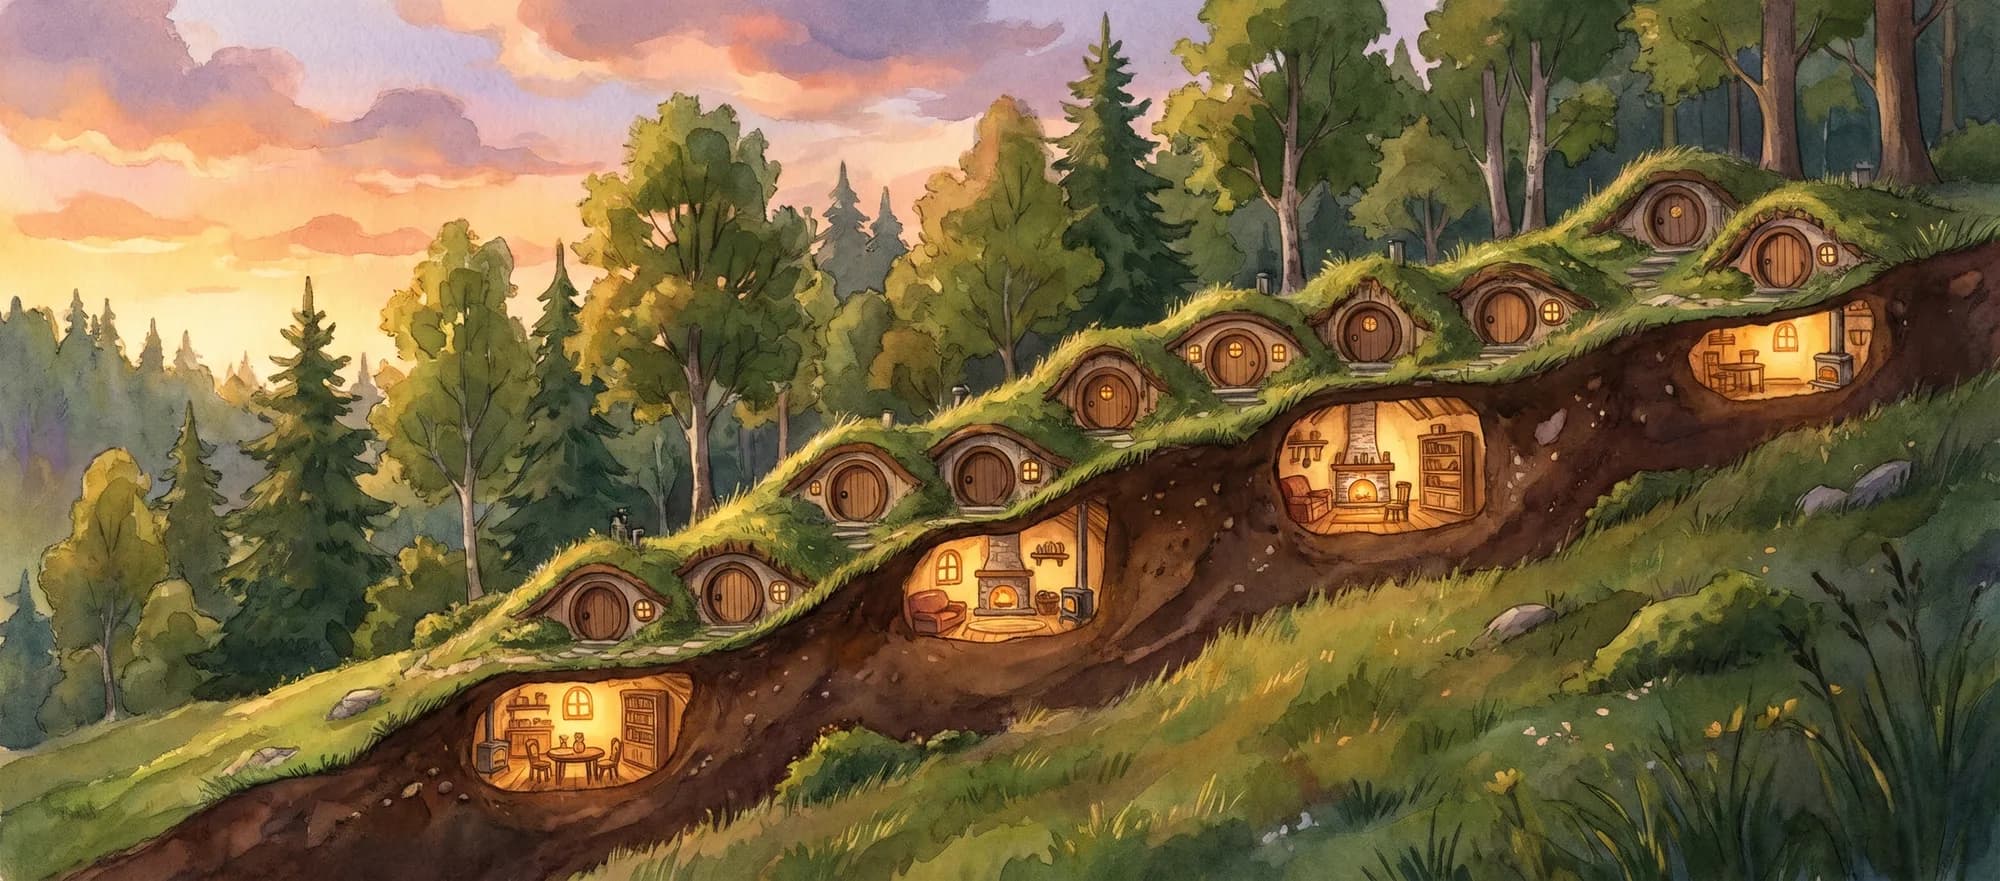
A house sheltered by earth is an old, proven technique. Here, layer by layer and step by step, is how each of the ten will be made.
cross-section
What's under the grass
Tap each layer. The slope in the drawing (≈ 20%) is the real slope of our land.
Tap a layer or a number to see what it does.
step by step
Eight steps from grass to round door
Scroll: the drawing builds itself as you go.
Step 1/8 · Survey & design
Step 1
Survey & design
We already have the topographic survey. Next: a geotechnical study (how stable the ground is, where water flows), the architect's design and the building permit.
≈ cost share: 6%⏳ 3–6 months
Step 2
Excavation
We dig 1–3 m into the slope, as each house needs. The soil we remove is kept nearby — it goes back on the roof.
≈ cost share: 8%⏳ 1–2 weeks / house
Step 3
Foundation & drainage
Footing, an insulated slab and a perimeter drain that leads spring water away from the house.
≈ cost share: 10%⏳ 1–2 weeks
Step 4
Structural shell
The vault or frame that will carry the weight of the hill. The engineer picks the method after the geotechnical study.
≈ cost share: 22%⏳ 2–4 weeks
Step 5
Waterproofing & insulation
Membrane, insulation and drainage layer — the part nobody sees and everything depends on.
≈ cost share: 12%⏳ 1 week
Step 6
Backfill & green roof
The earth goes back over the house, then we sow grass and wildflowers. The house starts to vanish into the hill.
≈ cost share: 10%⏳ 1–2 weeks
Step 7
Round door & stone front
Local-stone walls, the round oak door with forged hinges, the round window and the ventilation chimney.
≈ cost share: 14%⏳ 2–3 weeks
Step 8
Themed interior & garden
Lime plaster, warm lights, furniture and the theme's exhibits — then the front garden. The door opens to visitors.
≈ cost share: 18%⏳ 3–6 weeks
site plan
The whole village, on the real land
Switch to “Plan view” to see contour lines, floor levels and the plot boundary.
Tap a house
- 1Mossdoor
- 2Starroot
- 3Owl's Rest
- 4Ember Burrow
- 5Salt Lantern
- 6Fern Hollow
- 7Honeywell
- 8Brookhearth
- 9Stonecap
- 10Mistdown
What the topographic survey told us
- ✦The land is a long strip (≈ 116 × 25 m) climbing ≈ 25 m to the south.
- ✦The slope faces north-east: the doors get the morning sun.
- ✦There are two springs on the land — we turn them into a spring garden and the brook beside Brookhearth, but they demand excellent drainage.
- ✦Houses are cut 1–3 m into the slope, and the excavated soil goes back over them.
- ✦The gate and Common Hearth are at the top, by the access road; the path zig-zags down (≈ 12%). The area by the gate will be step-free.
- ✦Parking will be off the plot, with a shuttle from the salt mine or town.
made of
Materials & nature
- Local stonefor the front walls and paths
- Carpathian timberdoors, beams, furniture
- Limeplaster that breathes
- Reused earthfrom our own dig, back on the roofs
- Solar powerfor lights and ventilation
- Rainwatercollected for the gardens
Illustrative plans for presentation. Final construction drawings will be produced and signed by a licensed Romanian architect and structural engineer and approved through the building permit (autorizație de construire).